How to Clean Cloudy Blender: A Comprehensive Guide
Are you tired of cloudy blenders diminishing the shine of your culinary creations? Don’t be upset! In this comprehensive guide on how to clean cloudy blender, we’ve got you covered with effective and practical solutions.
Cloudy blenders not only diminish the shine of culinary creations but can also affect the taste and hygiene of your favorite smoothies, sauces, and soups. But don’t be worried about that!
It’s time to say goodbye to lackluster smoothies and unsightly residue that might compromise your culinary creations. Because, in this article, we’ll explore step-by-step methods to clean a cloudy blender using easily accessible household ingredients.
So you won’t even need to spend a fortune on specialized cleaning products. Our techniques are tried and tested, promising to leave your blender looking brand new, with enhanced performance to match!
Why is it important to clean your blender properly?

Cleaning your blender properly is essential to maintain its longevity and to ensure that it doesn’t affect the taste of your drinks and other culinary creations. A dirty blender can also harbor bacteria and germs, which can lead to food poisoning. Additionally, a dirty blender can affect the performance of the motor, leading to a shorter lifespan of the appliance. So, now you have already understood how important it is to clean a blender regularly.
Best Way to Clean a Cloudy Blender
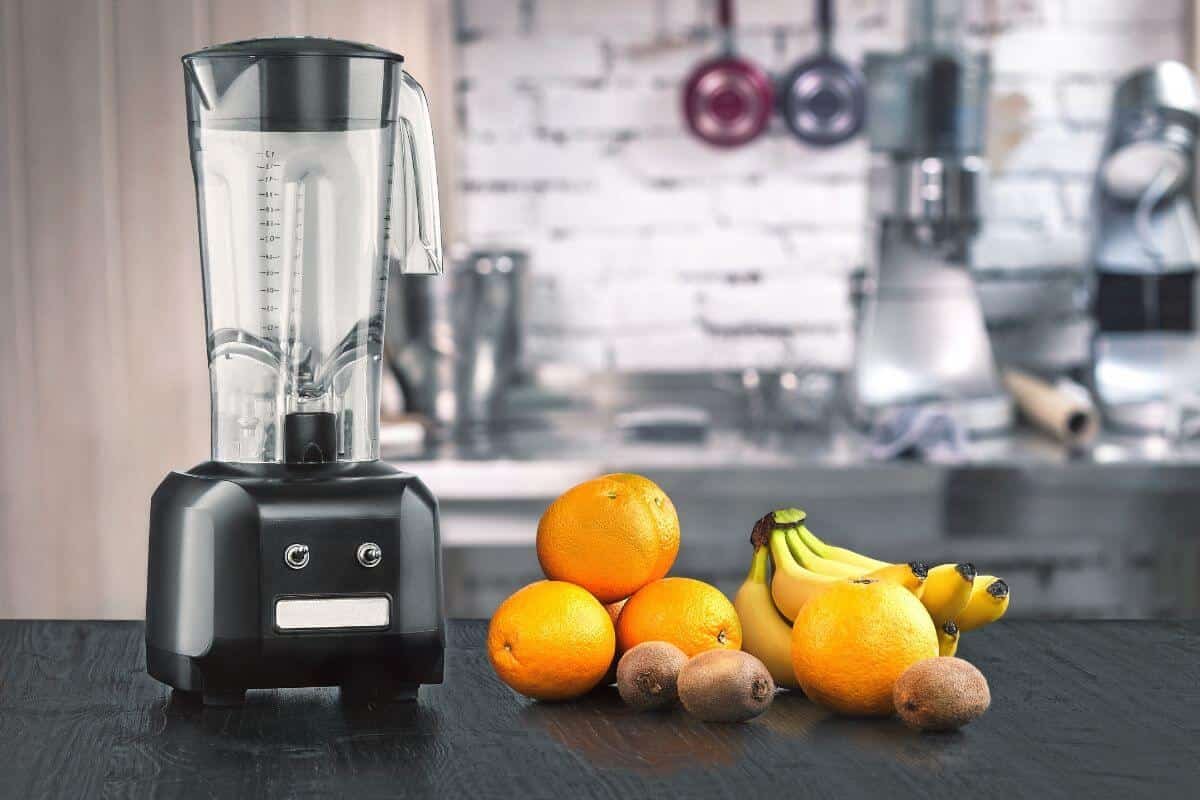
As someone who loves making smoothies and shakes, I know how frustrating it can be to have a cloudy blender. Not only does it look unappetizing, but it can also affect the taste of your drinks. Food residue, fruit minerals, leafy greens, and stains can over time build a white film on your container, giving you the impression that your blender is still filthy. Here are some tips and tricks on how you can clean your cloudy blender and keep it looking brand new;
Materials Needed
- Baking soda
- Water
- Bowl for mixing
- Scrub pad
- Distilled white vinegar
Instructions
- Create a baking soda paste: Mix equal parts of baking soda and water in a bowl to form a spreadable paste.
- Apply the paste: Spread the paste evenly around the inside of the cloudy blender container. Allow it to settle for roughly 20 minutes.
- Scrub the container: Use a scrub pad to scrub the container, working in small sections and focusing on the cloudy areas.
- Rinse the container: Rinse the container thoroughly with water to remove the baking soda paste.
- Use vinegar if needed: If the cloudiness persists, fill the container with a 1:1 mixture of white vinegar and warm water. Let it sit for a few hours or the entire night.
- Rinse and dry: Rinse the container thoroughly with water to remove the vinegar solution, and dry it with a clean towel or let it air dry.
Tips for cleaning a cloudy blender
Here are some tips for cleaning a cloudy blender:
- Clean the blender immediately after use: The longer you wait to clean your blender, the harder it will be to remove the stains and residue. Cleaning the blender immediately after use will prevent the food from drying up and sticking to the jar.
- Disassemble the blender: Before cleaning the blender, make sure to disassemble it. This means removing the jar from the motor base and taking off the lid.
- Rinse the blender: Rinse the blender jar and lid with warm water to remove any loose food particles.
How to Maintain a Clean Blender for better performance?
Blenders are versatile kitchen appliances that can help you make delicious smoothies, soups, sauces, and more. However, with regular use, your blender can become dirty and cloudy, affecting its performance and appearance. So, it is essential to keep your blender clean for optimal performance. To keep your blender in top condition, follow these simple tips:
- Deep clean your blender after every use
- Clean your Blender Base
- Clean your blender blades
- Store your blender properly
- Avoid overloading the blender
- Use the right cleaning tools
How to Deep Clean Blender
Deep cleaning your blender ensures that it remains in optimal condition and extends its lifespan. Here’s how to deep clean the blender and get rid of any stubborn stains or residues.
Easy Steps for a Thorough Cleaning
- Disassemble the blender: Remove the container from the base, and take off the lid and any removable parts like the blade assembly.
- Soak the removable parts: Fill a sink or large bowl with warm, soapy water, and submerge the container, lid, and blade assembly. Let them soak for 15-20 minutes.
- Scrub the parts: Use a soft brush or sponge to scrub the container and lid, paying special attention to corners and crevices where food particles can accumulate. For the blade assembly, use a brush to clean between the blades and remove any debris. Keep an eye out for the sharp edges to avoid getting hurt.
- Rinse and dry: Rinse the container, lid, and blade assembly thoroughly under running water to remove any soap residue. Let them air dry or dry them with a fresh towel.
- Clean the blender base: Follow the steps mentioned below to clean the blender base.
- Reassemble the blender: Once all the parts are clean and dry, reassemble the blender, and it’s ready for use.
How to Clean Blender Base
Cleaning the blender base is crucial to maintaining its performance and appearance. The blender base is where the motor and electrical components are housed, so it’s essential to clean it carefully to avoid damage.
Step-by-Step Guide:
Here’s how to clean the blender base effectively;
- Unplug the blender: Always unplug your blender before cleaning to ensure your safety.
- Remove any debris: Use a dry cloth or paper towel to wipe away any residue or debris from the blender base.
- Dampen a cloth: Wet a soft cloth or sponge with warm, soapy water, and wring it out well.
- Wipe down the base: Use the damp cloth to gently clean the exterior of the blender base, paying special attention to any vents or crevices where dirt can accumulate.
- Clean the control buttons: Use a cotton swab or small brush dipped in soapy water to clean around the buttons and knobs. Be careful not to let any water seep into the electrical components.
- Dry the base: Wipe the base with a dry cloth to remove any moisture and prevent damage to the motor and electrical parts.
- Reassemble the blender: Once the base is clean and dry, reattach the container and lid, plug in the blender, and you’re good to go!
As the motor and other electrical components are housed in the blender base, it is important to maintain caution during cleaning the blender base. So we will always recommend you follow the steps mentioned in the how-to-clean blender base section to clean the blender base. Remember not to submerge the blender base in water or spray it with a cleaning solution.
How to clean blender blades
Cleaning blender blades can be tricky as they are sharp and can cause injury. Here’s how you can clean blender blades safely:
- Fill the blender jar with warm water and a few drops of dish soap.
- Run the blender at low speed for a few seconds.
- Turn off the blender and use a soft sponge or brush to clean the blades.
- Use warm water to completely rinse the jar.
How to Clean Different Types of Blenders
Different types of blenders may require specific cleaning methods. Here’s how to clean some common types of blenders:
- Immersion blender: Unplug the blender, and remove the blending attachment. Clean the attachment with warm soapy water and a soft brush, then rinse and dry. Wipe down the motor unit with a damp cloth, avoiding any electrical components.
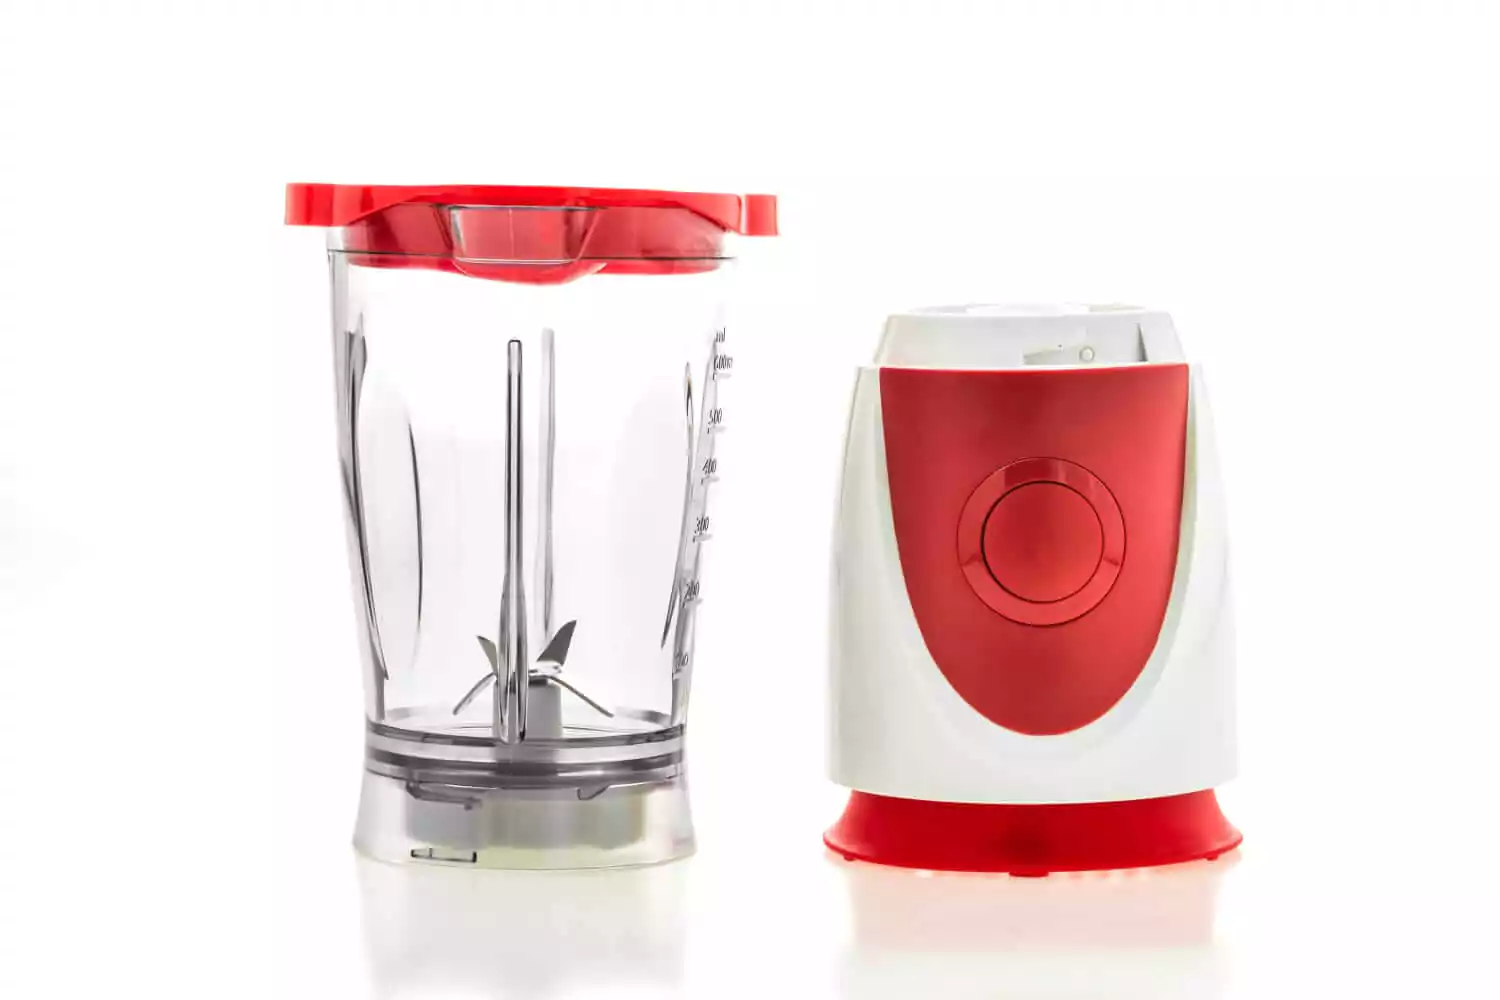
- Personal blender: Disassemble the blender, and clean the container, lid, and blade assembly as you would for a standard blender. For the motor base, wipe it down with a damp cloth and dry it thoroughly.
- High-speed blender: Follow the cleaning steps outlined in the how-to deep clean blender section to clean the container, lid, and blade assembly. For the motor base, use a damp cloth and a cotton swab or a small brush to clean around the buttons and vents.
Cleaning Blender Accessories
Don’t forget to clean your blender’s accessories, such as tamper tools and lids. These parts can be washed by hand with warm soapy water or placed in the dishwasher if they are dishwasher-safe. Always check the manufacturer’s instructions for cleaning recommendations.
How to clean a cloudy Vitamix blender?

Vitamix blenders are one of the best blenders available in the market. They are known for their powerful motors, high-quality sharp blades, and durable construction which have made them a versatile blender. These blenders are designed to make various ingredients. However, it’s important to clean Vitamix blenders to maintain their optimal performance. Here are some quick steps on how to clean your Vitamix blender:
- Fill the blender jar halfway with warm water but not too much hot water
- Add a few drops of dish soap to it
- Run the blender at high speed for 30-60 seconds.
- Rinse the jar thoroughly with warm water.
- After Cleaning the jar allow it to dry
Note: It’s important to have a look at the detailed instructions for cleaning your specific Vitamix blender model, as different models may have slight variations in their cleaning process.
Blender Maintenance and Safety
Blender maintenance and safety go hand in hand. Follow these guidelines to ensure your blender remains in good working order and is safe to use:
- Check the rubber gasket: Inspect the rubber gasket or sealing ring regularly for signs of wear or damage. Replace it if necessary to prevent leaks and ensure proper blending.
- Inspect the blades: Check the blades for any signs of damage or dullness. Sharpen or replace them as needed.
- Avoid overloading the blender: Overloading can strain the motor and cause it to overheat. Always follow the manufacturer’s guidelines for maximum capacity.
- Keep the blender clean: Regular cleaning prevents the buildup of germs and bacteria that can contaminate your food.
Precautions to take while cleaning a blender
Here are some precautions you should take while cleaning a blender:
- Unplug the blender: Before cleaning the blender, always unplug it to prevent any mishaps.
- Avoid submerging the motor base in water: The motor base should never be submerged in water as it can damage the motor.
- Handle the blades with care: The blades are sharp and can cause injury. Always handle them with care while cleaning.
FAQ (Frequently Asked Questions)
Cloudiness in a blender can occur due to a build-up of residue from ingredients, such as fruits, vegetables, or oils. Over time, these residues can accumulate and create a cloudy appearance.
How can I prevent my blender from becoming cloudy?
To prevent cloudiness, it’s important to clean your blender thoroughly after each use. Rinse it immediately after blending with warm water and a mild dishwashing detergent. Additionally, avoid leaving your blender unwashed for extended periods, as this can contribute to cloudiness.
Can I use bleach or harsh chemicals to clean my blender?
It is generally not recommended to use bleach or harsh chemicals on your blender, as they can leave strong odors or residues that may be difficult to remove. Stick to using mild dishwashing detergent or a vinegar solution to clean your blender effectively.
How often should I clean my blender?
Ideally, you should clean your blender after each use to prevent residues from building up. Regular cleaning not only helps maintain the blender’s performance but also prevents cloudiness and the development of odors.
Are there any parts of the blender that should not be submerged in water?
It’s important to check your blender’s instruction manual for specific guidance on which parts are dishwasher-safe or should not be submerged in water. In general, motor bases or electrical components should not be immersed in water. Instead, wipe them with a damp cloth.
Conclusion
Cleaning a cloudy blender may seem like a daunting task, but with the right tips and tricks, it can be a breeze. By cleaning your blender regularly, you can ensure that it stays in good condition and lasts longer. Whether you choose to use household items or blender cleaners, always take precautions while cleaning and handle the blades with care. Now that you know how to clean a cloudy blender, you can enjoy your smoothies and shakes with confidence.
- Don’t let a cloudy blender ruin your favorite drinks. Try these tips and tricks today to keep your blender looking brand new.