How to Clean Ninja Blender Rubber Gasket: A Complete Guide
How to Clean Ninja Blender Rubber Gasket? It’s one of the most common questions from a Ninja Blender user.
Maintaining the cleanliness of your Ninja blender is essential for ensuring optimal performance and longevity. One crucial but often overlooked component is the rubber gasket.
It forms a tight seal between the blender’s blade assembly and the container. Regularly cleaning the rubber gasket not only prevents the buildup of residue and bacteria but also ensures the freshness and flavor of your blended creations.
In this article, I will show you a step-by-step process on how to effectively clean the Ninja blender rubber gasket and other parts of the Blender as well.
What is the Rubber Gasket in a Blender?
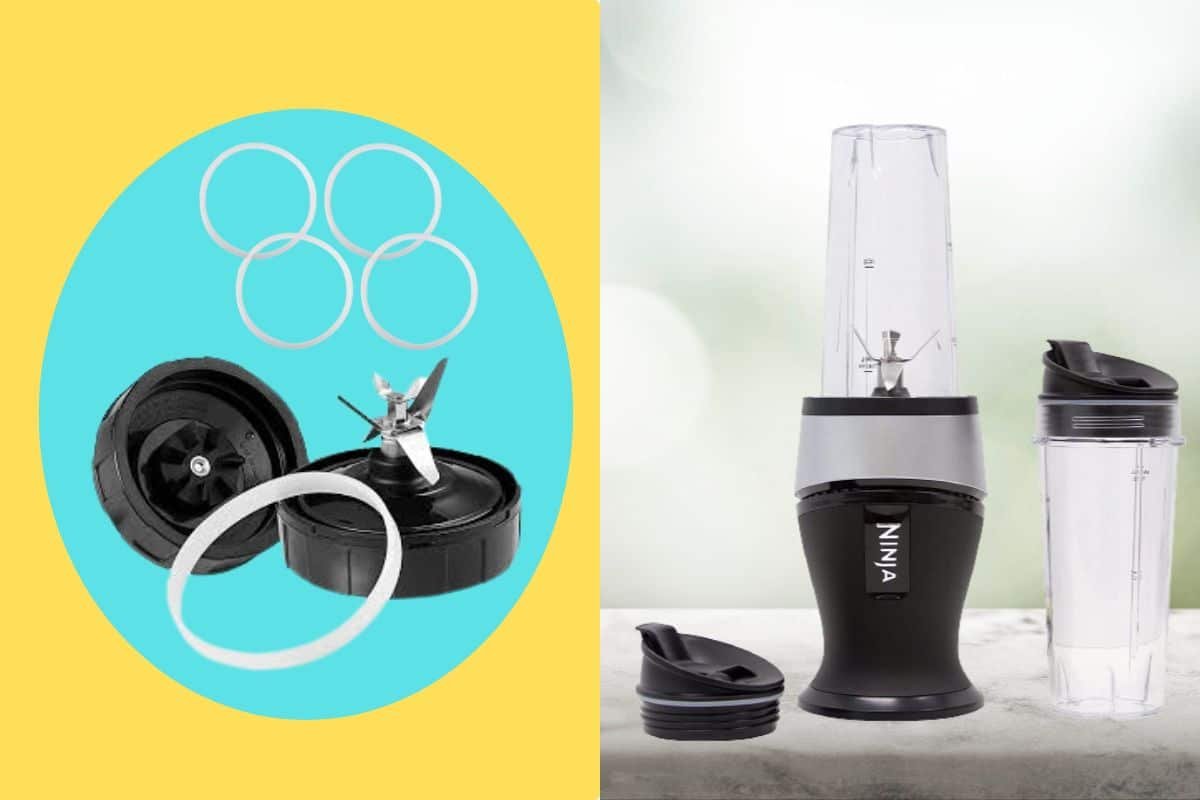
The rubber gasket in a blender is a crucial component that ensures a tight seal between the blender’s blade assembly and the container. It is a small circular ring made of durable rubber or silicone material. These Rubber gaskets are generally located at the base of the blender pitcher.
The gasket prevents leaks and keeps the contents securely inside while blending. It also helps to reduce noise and vibration during blending. Without it, liquids could seep out and damage the motor or create a messy kitchen.
How to Clean Ninja Blender Rubber Gasket: Step-by-Step Guide
Cleaning the rubber gasket on your Ninja blender is a simple process. This can be done using common household ingredients. Here’s a step-by-step guide on How to clean Ninja blender rubber gasket effectively:
Step 1: Disassemble the Blender
Before you begin cleaning the rubber gasket, make sure to unplug the blender from the power source. Then, disassemble the blender by removing the blade assembly from the pitcher. To do this, twist the assembly counterclockwise until it comes off. Set the blade assembly aside and focus on cleaning the rubber gasket.
Step 2: Soak the Gasket
Fill a bowl or sink with warm water and add a few drops of mild dish soap. Submerge the rubber gasket in the soapy water. Then let it soak for about 10-15 minutes. This will help loosen any dirt, debris, or food particles stuck on the gasket.
Step 3: Scrub the Gasket
After soaking, gently scrub the rubber gasket. (You can use a soft-bristled brush, such as a toothbrush for doing this). Pay attention to any grooves or crevices where dirt may have accumulated. Use small circular motions to remove any stubborn residue. Be careful not to apply excessive force, as it may damage the gasket.
Step 4: Rinse Thoroughly
Once you have scrubbed the gasket, rinse it thoroughly. Ensure that all dirt and cleaning solutions have been washed away. Proper rinsing is important to avoid a soapy taste or residue in your future blends.
Step 5: Dry Completely
After rinsing, dry the rubber gasket with a clean towel or allow it to air dry completely. It’s important to ensure that the gasket is completely dry before reassembling the blender. Once the rubber gasket is dry, it’s time to reassemble the blender.
How Often Should You Clean the Gasket Seal on Your Ninja Blender
Regular cleaning of the gasket seal on your Ninja blender is essential to ensure optimal performance and hygiene. I will recommend you clean the gasket seal after each use. This will remove any residue or food particles that may have accumulated during blending. Moreover, it will help prevent bacterial growth and maintain the longevity of your blender.
Additionally, it’s a good practice to perform a more thorough cleaning of the gasket seal at least once a week.
What Causes Rubber Gasket to Damage
Rubber gasket damage can occur due to various factors. Here are some common causes of rubber gasket damage:
- High Temperatures: Exposure to high temperatures can cause the rubber gasket to become brittle and crack over time. Avoid placing the gasket in hot water or exposing it to direct heat sources.
- Harsh Chemicals: Certain cleaning agents or abrasive chemicals can degrade the rubber material of the gasket. Use mild dish soap or natural cleaning solutions when cleaning the gasket.
- UV Radiation: Prolonged exposure to sunlight or other sources of UV radiation can cause the rubber gasket to discolor or deteriorate. Store your blender in a cool, shaded area when not in use.
- Lack of Regular Cleaning: Failure to clean the rubber gasket regularly can lead to the accumulation of dirt, food particles, and bacteria. This can affect the performance and hygiene of your blender.
- General Wear and Tear: Like any rubber component, the gasket is subject to wear and tear over time. The frequency of use and the quality of the material can affect the lifespan of the gasket.
Some Common Reasons Your Ninja Blender Rubber Gasket Gets Dirty
The Rubber gasket of your Ninja Blender can be dirty due to many reasons. Here are five common reasons:
- Food Residue: During blending, small food particles or residue can get trapped in the rubber gasket. This results in the accumulation of dirt over time.
- Improper Cleaning Habits: Failing to clean the blender and gasket regularly can result in the accumulation of debris and bacteria. This makes the gasket dirty and potentially affects the quality of your blends.
- Overuse: Frequent use of the blender can lead to more significant wear and tear on the rubber gasket. This makes it more prone to dirt accumulation and potential damage.
- Exposure to Heat or Hot Liquids: High temperatures or exposure to hot liquids can cause the rubber gasket to deteriorate or warp. Which makes it more susceptible to dirt and grime.
- Aging and General Wear: Over time, the rubber gasket may naturally deteriorate, which makes it more prone to dirt and bacteria buildup.
By being aware of these common reasons, you can implement regular cleaning and maintenance practices. Which will keep your Ninja blender rubber gasket clean and in optimal condition.
How to Fix the Rubber Seal on a Blender
If you notice that the rubber gasket on your Ninja Blender is damaged, it is important to address the issue immediately. Here are some steps to fix the rubber seal:
- Inspect the rubber gasket for any visible damage, such as cracks or tears.
- If the gasket is damaged or worn, consider replacing it with a new one. You can find replacement gaskets online or at authorized Ninja Blender retailers.
- To replace the gasket, carefully remove the old gasket from the blade assembly and discard it.
- Place the new gasket onto the blade assembly. Ensure it is properly aligned and seated.
- Make sure the gasket forms a tight seal with the pitcher when reassembling the blender.
Cleaning Methods for Different Parts of the Blender
Apart from the rubber gasket, there are other parts of the blender that require regular cleaning to maintain optimal performance. Let’s explore how to clean the Ninja blender base, top, blade assembly, and bottom.
How to Clean Ninja Blender Base
The base of the Ninja blender houses the motor and control buttons. To clean the base, follow these steps:
- Unplug the blender from the power source.
- Wipe the exterior of the base with a damp cloth or sponge to remove any dust or spills.
- For stubborn stains or spills, use a mild cleaning solution or a mixture of water and vinegar.
- Avoid submerging the base in water or getting it excessively wet to prevent damage to the electrical components.
- Dry the base thoroughly with a clean cloth before plugging it back in.
How to Clean Ninja Blender Top
The lid and any additional attachments are located on top of the Ninja blender. Here’s how to clean the top:
- Remove the lid and any attachments from the blender.
- Wash the lid and attachments with warm soapy water using a sponge or cloth. Ensure all food particles and residues are removed.
- Rinse thoroughly with clean water and dry completely before reattaching to the blender.
How to Clean the Bottom of a Ninja Blender
The bottom of the Ninja blender refers to the area where the pitcher connects to the base. To clean the bottom, follow these steps:
- Remove the pitcher from the base and empty any contents.
- Using a sponge or cloth wash the pitcher and lid with warm soapy water. Pay attention to the bottom area and remove any residue or debris.
- Thoroughly rinse the pitcher and lid with clean water.
- Dry the pitcher and lid completely before reassembling the blender
How to Clean Ninja Blender Blades
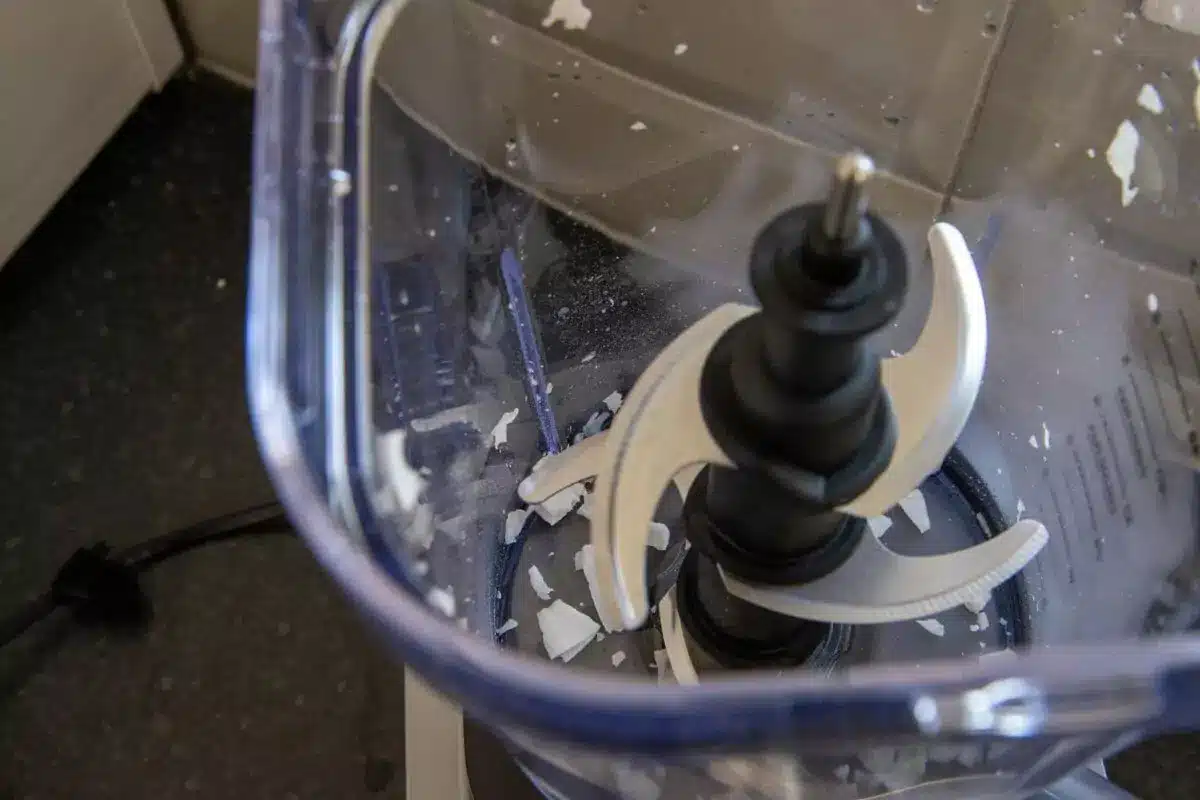
Over time, the blade assembly of your Ninja blender may accumulate residue and become dull. Here’s how to clean the blade assembly:
- Remove the blade assembly from the pitcher.
- Using a brush or sponge, wash the blade with warm soapy water.
- For tough stains or build-up, soak the blades in a mixture of warm water and vinegar for about 15 minutes.
- Scrub the blade again with a brush to remove any remaining residue.
- Thoroughly rinse the blade and dry it completely before reassembling the blender.
If the above steps are not enough to clean the blade assembly, then you should deep clean your Ninja Blades.
Conclusion
Cleaning the rubber gasket on your Ninja blender is a simple but crucial task. By following and implementing the step-by-step guide provided in this article, you can ensure the excellent condition of your blender. Remember to clean not only the rubber gasket but also other parts of the blender, such as the base, top, blade assembly, and bottom. Because this will maintain the overall cleanliness and functionality of your blender. With proper care and maintenance, your Ninja blender will serve you well for years to come. Happy blending!
Frequently Asked Questions
Will vinegar damage rubber gaskets?
No, vinegar typically does not damage rubber gaskets. In fact, it can be an effective and natural cleaning agent for rubber components. However, it’s essential to dilute the vinegar with water before use to prevent any potential adverse effects.
Can you clean rubber gaskets with alcohol?
Yes, you can clean rubber gaskets with alcohol. Isopropyl alcohol, commonly known as rubbing alcohol. It can effectively remove dirt, grime, and residue from rubber gaskets. Ensure to use a soft cloth or cotton ball soaked in alcohol for gentle and efficient cleaning.
What are the black specks in my ninja blender?
The black specks in your ninja blender may be due to tiny particles of rubber or gasket material that have worn off over time. It’s a common issue with regular blender usage. Regular cleaning and maintenance can help minimize this occurrence.
What is the black stuff on my blender gasket?
The black stuff on your blender gasket is most likely mold or mildew. Mold can develop in moist and humid environments, and rubber gaskets provide an ideal breeding ground. Regularly inspect and clean your blender gasket to prevent mold growth and maintain a hygienic blending experience.
Does rubbing alcohol remove mold?
Yes, rubbing alcohol, such as isopropyl alcohol, is effective in removing mold. Its high alcohol content helps to kill mold spores and inhibit further growth. Use a cloth soaked in rubbing alcohol to clean affected areas. But make sure to wear protective gloves and work in a well-ventilated area.
Does baking soda and water remove mold?
Yes, baking soda mixed with water can be used to remove mold. Baking soda is a natural and gentle abrasive that helps lift off mold from surfaces. Create a paste with water and baking soda, apply it to the affected area, scrub gently, and then rinse thoroughly. It’s an eco-friendly alternative for mold removal.
Can you use oven cleaner on a Ninja?
No, you should never use oven cleaner on a Ninja blender or its parts. Oven cleaners are too harsh for kitchen appliances and can cause damage. Stick to mild and food-safe cleaning agents like vinegar or baking soda.